Geometric Digital Paper Patterns Pack: What to Know Before You Download and Use
You have likely seen geometric digital paper patterns used everywhere—from social media graphics and product packaging to scrapbook pages and classroom materials. The appeal is obvious: clean lines, repeatable symmetry, and a modern look that works for nearly any project. Yet many people download a pack like the Geometric Digital Paper Patterns Pack and immediately run into small but frustrating issues—poor print resolution, color shifts, or a design that does not tile properly. Most of these problems are easy to avoid once you understand what you are working with and how to get the most out of the files you receive.
Let’s walk through the practical side of using geometric digital paper patterns, including the common misunderstandings that hold people back and how to steer clear of them. Whether you are a seasoned designer or someone just starting out, a few informed choices will make your experience smoother, your results better, and your satisfaction much higher.
Understanding What You Actually Receive
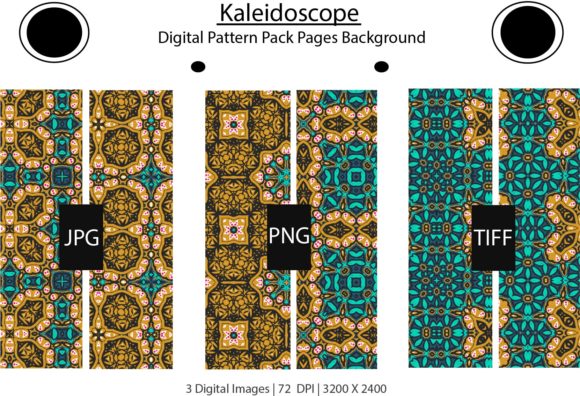
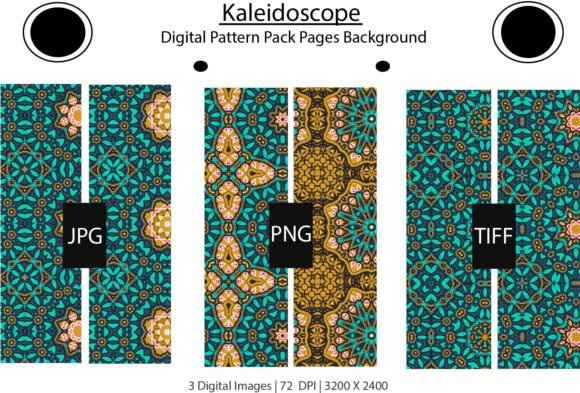
The Geometric Digital Paper Patterns Pack arrives as a single zipped file. Inside that file, you will find three separate formats: TIFF, JPG, and PNG. Each format exists for a reason, and picking the wrong one for your task is one of the most frequent mistakes people make. It is not that one format is universally better than another—it is that each serves a different purpose. Choosing blindly leads to unexpected file sizes, lost transparency, or degraded image quality.
Take the TIFF file, for example. This format is lossless, meaning it preserves every bit of detail from the original design. It is ideal for high-resolution printing, especially if you plan to enlarge the pattern for posters, banners, or book covers. But TIFF files are large and not suitable for quick web uploads. On the other hand, the JPG file is compressed and works well for online use, drafting, or sending previews. However, every save adds compression, so repeated editing will degrade quality. The PNG file sits in the middle—it supports transparency and offers better quality than JPG, making it excellent for digital compositing, presentations, and layered projects.
A Better Approach to Choosing Format
Ask yourself two questions before you open any file: Will this be printed or stay on screen? and Do I need a transparent background? If the answer is print and no transparency needed, go with TIFF. If it is digital and you need transparency, use PNG. If you are just making a quick mockup or posting on social media, JPG is fine. Keeping these distinctions in mind saves you from re-downloading or re-editing later.
The Trap of Ignoring Resolution and Scale
Another common oversight involves resolution. Geometric digital paper patterns look crisp and detailed on your screen, but that appearance depends on the pixel density of your monitor. When you drop a pattern into a document set at 72 DPI (dots per inch) for web, everything looks fine. But if you later try to print that same document at 300 DPI, the pattern may appear blurry or pixelated. The pattern itself is high-resolution, but if you scale it beyond its intended print dimensions, you lose sharpness.
This mistake usually happens when someone assumes that "digital paper" can be stretched infinitely. It cannot. Each pattern file has a fixed pixel dimension—commonly 12x12 inches at 300 DPI in quality packs. If you need a larger size, you must scale proportionally and accept minor interpolation, or contact the creator to see if custom sizing is available. Trying to force a pattern into a much larger space without adjusting resolution settings leads to disappointment.
Editing Geometric Patterns Without Losing Their Look
Many creators rightly appreciate that the Geometric Digital Paper Patterns Pack is "easy to use and edit." That is true, but editing a geometric pattern involves more than changing a color or rotating a tile. The symmetry and repetition that give geometric designs their appeal can break quickly if you are not careful. Stretching a pattern unevenly, for example, distorts angles and destroys the intended rhythm. Cropping too tightly can cut off a repeating element, making your project look unbalanced.
A practical piece of advice is to work on a copy of the file, never the original. Use layers if your software supports them, and keep the pattern layer locked until you are happy with everything else. If you want to change the color scheme, use hue/saturation adjustments or multiply blend modes instead of selecting and painting over lines—that preserves the original edges and avoids a messy result.
Overlooking the Need for a Seamless Tile
Geometric digital paper patterns are often designed to tile seamlessly. That means you can place them side by side and the edges match perfectly. But many people assume a single pattern sheet will automatically repeat without visible seams. This only works if you set up your document correctly. If you place the pattern as a full image and do not define it as a pattern swatch, you will see hard edges where one tile meets the next.
In software like Photoshop, you can define the file as a pattern by going to Edit > Define Pattern. Then fill a new layer with that pattern. This gives you an infinite, seamless background. In Illustrator, you can drag the file into the Swatches panel and apply it as a fill. Taking this extra step turns a single digital paper into a genuinely reusable resource.
Common Misunderstanding About Printing Costs
Another detail that catches people off guard involves printing. Because geometric patterns are often bold and full-coverage, they use a lot of ink or toner. A design with dark, dense shapes will consume more ink than a lighter, more open pattern. This is not a flaw in the product—it is a characteristic of the design. But if you are printing hundreds of sheets for a business project or event, the cost adds up.
Check your printer settings before running a large batch. Use draft or standard quality for internal proofs, and save high-quality print settings for the final run. Also consider using a print shop for large quantities—they often have better cost efficiency for high-coverage prints. Knowing this ahead of time helps you budget realistically and avoid frustration when ink cartridges run out halfway through a project.
Failing to Preview Colors Across Devices
Color accuracy is another area where expectations and reality sometimes diverge. The geometric digital paper patterns you see on your monitor may look slightly different when printed or viewed on another screen. Monitors vary in calibration, and printers use CMYK or sometimes RGB color spaces. What appears as a soft sage green on your laptop might print as a muted olive on your home printer.
Always request or create a small test print before committing to a large run. Many designers also use soft-proofing features in software to simulate how the file will look in CMYK. If color matching is critical for branding or client work, consider having professional print proofs made. The pattern itself is not the problem—interpretation differences between devices are the real culprit.
Buying Without Checking the Licensing or Usage Terms
Entrepreneurs, small business owners, and freelancers often overlook the usage terms inside the pack. Most digital paper packs, including the Geometric Digital Paper Patterns Pack, come with clear permissions: personal use or limited commercial use. Commercial use usually allows you to incorporate the patterns into products you sell, but you may not resell the patterns themselves as standalone files. Some licenses also restrict the number of copies or the type of product.
This is straightforward, but it becomes a problem when someone assumes "commercial use" means total freedom. For example, if you use the pattern on a mass-produced item sold through a large retailer, the license may require a different tier. Read the license file inside the zip folder before you start selling products. It only takes a minute, and it prevents legal headaches down the road.
What to Check Before You Purchase
Before you buy any geometric digital paper pack, look for the following details in the product description or preview images:
- Resolution and dimensions – Are the files at least 300 DPI for printing?
- File formats offered – Are TIFF, JPG, and PNG all included, or only one?
- Seamless tiling capability – Is the pattern designed to repeat without seams?
- Number of patterns and color variations – Does the pack give you enough variety?
- License details – Can you use the patterns for your intended project type?
Checking these points up front helps you avoid buying a pack that does not quite fit your needs. It also ensures you are comparing packs fairly, because a bundle with 20 patterns might look like a bargain but could lack the format or resolution you need.
Wasting Time by Not Organizing Your Files
After you download the zipped file and extract its contents, you will have a handful of folders or files. Many people extract everything into a single downloads folder and then search for the right pattern later. That approach wastes time—sometimes more time than the actual design work takes. A better habit is to create a dedicated folder for your digital paper patterns, sorted by theme or project. Give each file a clear name that includes the format and color details. For example, naming a file "Geo_Diamonds_Teal_300dpi_TIFF" tells you exactly what it is without needing to open a preview.
This small organizational step pays off when you are working under a deadline or managing multiple projects. You find the right pattern instantly, you avoid overwriting files, and you can share the organized folder easily with collaborators.
Over-relying on One Pattern for Everything
Geometric digital paper patterns are versatile, but they work best when used with intention. A common mistake, especially for beginners, is to use one favorite pattern on every project—the website background, the product label, the social media post, and the presentation slide. While consistency is good, visual fatigue sets in quickly. Audiences notice when the same pattern repeats everywhere without variation.
A better approach is to use different patterns from the same pack for different contexts. Keep one pattern for backgrounds, use another for accents or borders, and reserve a third for highlight elements. This creates a cohesive visual language without monotony. You get more mileage from the pack, and your projects look more polished.
Practical Summary: Getting the Most from Your Purchase
The Geometric Digital Paper Patterns Pack offers a straightforward path to professional-looking geometric designs, provided you take a few practical steps. Choose your file format based on print versus screen and transparency needs. Respect the pattern’s resolution limitations and scale appropriately. Use pattern-defining features in your software to tile seamlessly. Test prints before committing to large runs, and read the license terms carefully.
By addressing these points early, you avoid the common pitfalls that lead to wasted time, unexpected costs, or disappointing results. The patterns themselves are designed to be easy to use and edit—your part is to match the tool to the task. With that approach, you can confidently incorporate geometric designs into your work, whether you are creating marketing materials, educational resources, digital content, or handmade goods.
Enjoy experimenting with the patterns, and remember that a little preparation goes a long way toward making your finished project look exactly the way you envisioned it.